Canva makes creating sleek presentations a breeze. With a simple drag-and-drop interface and numerous templates, you can build pro-level slides in minutes.
A key part of effective presentations is text. Well-formatted, easy-to-read text conveys information clearly.
This guide will demonstrate how to fully utilize Canva’s text features to enhance your presentation content.
What is Canva Presentations
Canva is a free graphic design platform accessible right within your web browser. It contains professional presentation templates for business, education, personal use, and more.
With an intuitive editor, you can customize template slides or start from blank canvases. Drag-and-drop tools make building presentations efficient.
This article will focus specifically on working with text elements. Properly formatting text is crucial for readability. We’ll explore Canva’s type tools in-depth.
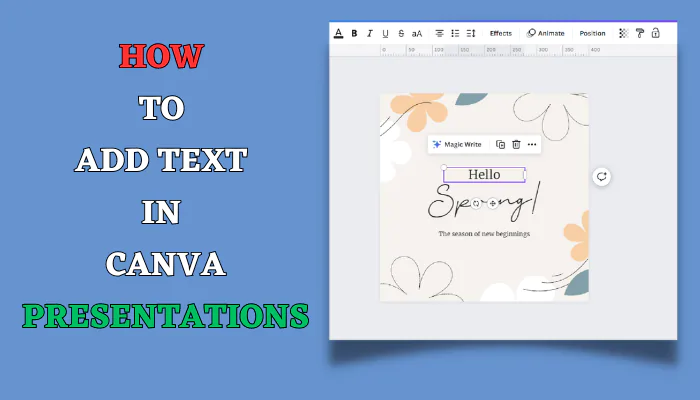
Accessing Text Tools
Within Canva’s editor, the vertical toolbar along the left contains all core editing tools.
To activate the Text tool:
- Click the T icon in the left toolbar
- Now choose your text style.
- Click on it, to add one text box on your design page.
Click in text box and start typing or pasting text content.
Note: You can insert multiple text boxes per slide, stacking them to organize information.
Text Formatting Basics
With text inserted, we can style it appropriately.
Let’s overview core formatting options:
- Font family: Choose among hundreds of font types
- Size: Set from 6pt up to 144pt
- Color: Match brand colors using the palette
- Alignment: Align left/center/right
- Spacing: Set line height and paragraph spacing
- Styling: Make text bold, italic, underline, etc.
Explore these tools above your text box. Tweak them until text appears clearly readable and visually appealing.
Text Layouts for Multi-Box Arrangements
For slides with heavy text content, multiple stacked boxes with headings work best.
Luckily, Canva offers premade text layouts to quickly add these. Simply drag desired layouts from the left toolbar onto your slide. Content placeholders auto-populate!
Benefits of utilizing text layouts:
- Creates clear text hierarchy
- Structures information cleanly
- Saves layout time
Advanced Typography with Custom Fonts
Canva provides hundreds of free font choices from simple sans-serifs to decorative script styles.
For even more variety, you can upload custom fonts into your library. From here, apply them to text elements the same as built-in fonts.
Using distinctive, branded fonts makes presentations uniquely yours. They also add visual flair that grabs interest!
Just ensure imported fonts render clearly at smaller sizes too. Legibility is key.
Enhancing Text Visually with Effects
So far we’ve covered core text formatting and layouts. Now let’s see how visual effects can make text stand out even more.
Canva has options to add:
- Gradients: Add color blended backgrounds
- Shadows: Directional shadows with color/blur control
- Outlines: Customizable stroke width, colors
- Fills: Transparent backgrounds for floating text
Blend and match creatively while maintaining readability!
Tips for Text Consistency Across Slides
With multiple slides, maintaining consistency in text formatting is best practice.
Ensure:
- Headings utilize the same fonts/sizes per level
- Body text remains the same family and weight
- Brand color schemes apply uniformly
This strengthens the presentation flow as viewers progress slide to slide.
Canva has global editing features to update text styles sitewide too.
Exporting/Sharing Your Presentation Masterpiece!
Once your Canva presentation with perfectly crafted text is complete, get it in front of audiences!
Export filetypes available:
- PPTX
- JPEG
- PNG
You can also:
- Share links for real-time previews
- Email presentations directly
- Post videos to social media
- Enable downloads
Print hardcopies for handouts or display slides in-person with ease.
Conclusion & Next Steps
You should now feel empowered creating readable, visually-appealing text slides in Canva.
Take your skills even further with:
- Canva’s library of icons, shapes, and illustrations
- Animated transition effects
- Color palette brands and themes
- Presenter mode for live shows
- Canva’s mobile apps
FAQs About Adding Text in Canva
How do I change the font style in my presentation?
Simply highlight the text you want to change and select your desired font family from the dropdown menu in Canva’s text toolbar. You have hundreds to choose from.
What’s the maximum font size I can use for titles and headings?
Canva supports text sized from just 6pt up to a whopping 144pt for really large, visually impactful titles that need to grab attention.
Is there a way to make global text changes across my entire presentation?
Yes! Canva has a global editing mode that lets you update fonts, sizes, colors, etc. across all text elements in one click. Very useful for maintaining consistency.
How do I make professional-looking text layouts without starting totally from scratch?
Simply use Canva’s premade text box layout templates. You’ll find options for titles with supporting paragraphs, columns, quotes, and much more to drag right onto your slides.
Can I use fancy text effects like gradients or glows in my presentation?
Absolutely! Dress up your titles and text boxes with all kinds of visual effects. Just don’t overdo it to retain readability and professionalism. Subtle touches go a long way.
Last modified: December 15, 2023

