
With Stable Diffusion, users can explore their creativity and produce visually impressive results. The best part is that the program is freely available to the public, with full rights to the generated images.
Introduction
Stable Diffusion is a powerful program that allows users to generate stunning images based on text inputs using AI technology. This article provides a step-by-step guide on how to install Stable Diffusion on a Windows computer and explains how to use the program effectively.
Installing Stable Diffusion
Before installing Stable Diffusion, users have the option to experiment with the program on the web interface. This allows for a quick exploration of its capabilities. However, installing Stable Diffusion offers more flexibility and customization options.
Checking System Requirements:
- Ensure that your PC has a discrete GPU (graphics card).
- Press Ctrl + Shift + Escape to open Task Manager and click on “Performance” to check if NVIDIA is listed, indicating the presence of a discrete GPU.
- Verify that your GPU has at least 4 gigabytes of dedicated memory.
- Make sure you have at least 10 gigabytes of free hard drive space.

Installing Prerequisites
- Git: Go to the Git download link, download the installer, and run it. Use the default installation settings.
- Python: Visit the Python download link, download the installer for the last version, and run it. During installation, ensure the option “Add python.exe to path” is checked for easier script execution.
Guide to installing Stable Diffusion on a Windows PC
- Open File Explorer by pressing the Windows key + E.
- Choose a location for Stable Diffusion installation and create a new folder for it.
- Navigate to the newly created folder and click on the address bar at the top.
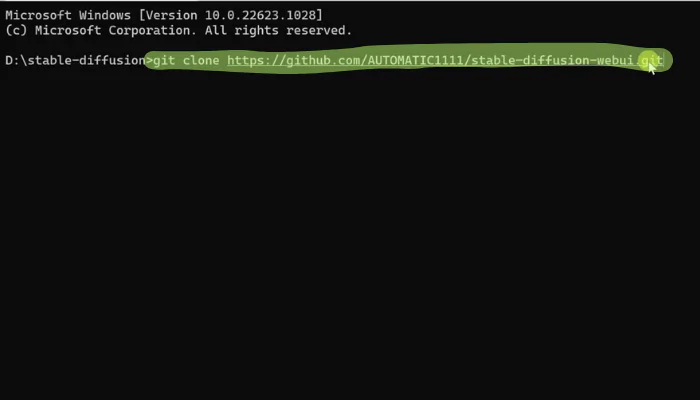
- Type “CMD” and press Enter to open Command Prompt.
- Use Git to clone the Stable Diffusion repository by entering the following command: “Git clone https://github.com/AUTOMATIC1111/stable-diffusion-webui.git “
- Wait for the cloning process to complete.
- In File Explorer, locate the cloned repository folder named “stable-diffusion-webui” and open it.
- Download the Stable Diffusion model by clicking on the ” https://huggingface.co/runwayml/stable-diffusion-v1-5 ” link and choose the smaller-sized version.
- Rename the downloaded file to “model” and cut it (Ctrl + X).
- Navigate to the “models” folder inside the “stable-diffusion-webui” folder and paste the model file (Ctrl + V) into it.
Configuring Stable Diffusion
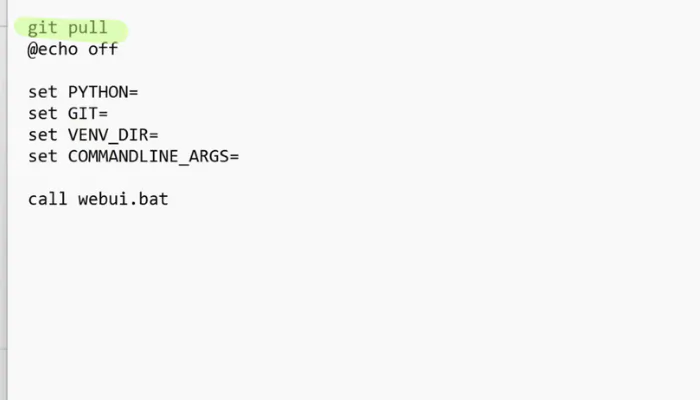
- In the “stable-diffusion-webui” folder, locate the file “webui-user.bat.”
- Right-click on the file and select “Edit.”
- Add the line “Git Pull” at the top of the file and save the changes.
- Close the file.
Launching Stable Diffusion
- Double-click on the “webui-user.bat” file to launch Stable Diffusion.
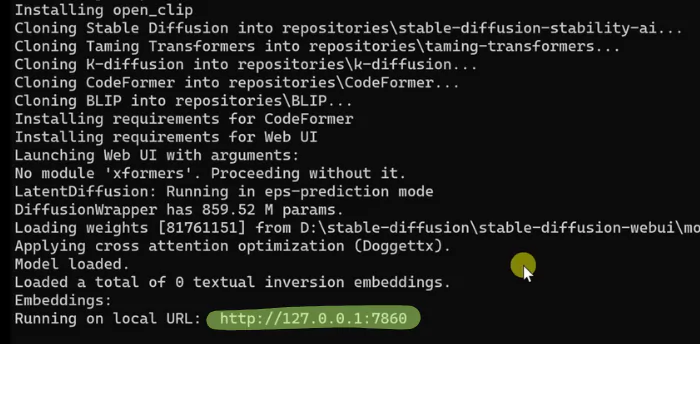
- Allow Stable Diffusion to install the necessary dependencies (this might take some time).
- Once the installation is complete, a URL will be displayed in the Command Prompt.
- Copy the URL and paste it into a web browser’s address bar to open the Stable Diffusion web UI.
Using Stable Diffusion
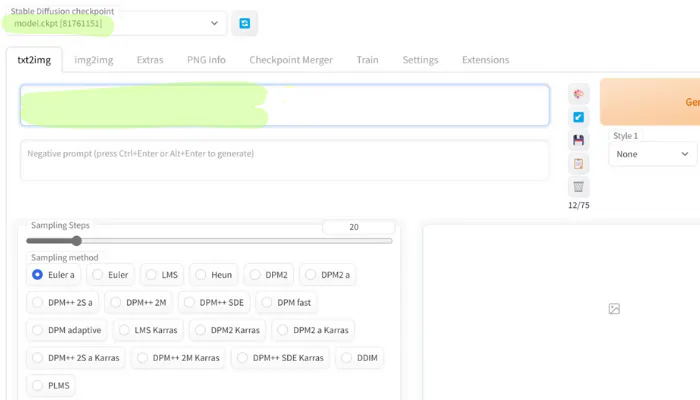
After successfully installing Stable Diffusion, users can launch the program and access its web-based user interface. The web interface provides a user-friendly graphical interface for interacting with Stable Diffusion. Users can choose the desired model checkpoint and explore various tabs for different functionalities.
- In the web UI, select the Stable Diffusion checkpoint or model you installed.
- Explore the available tabs and settings to configure your image generation parameters.
- Enter your desired text prompt in the “Text to Image” tab.
- Adjust other settings such as sampling steps, sampling method, output photo dimensions, etc., as needed.
- Click on “Generate” to generate the images based on your prompt.
- Preview the generated images and select the desired ones.
Congratulations! You have successfully installed and used Stable Diffusion on your Windows PC. Feel free to experiment with different prompts and settings to generate impressive images.
The article briefly explains other settings and options available in Stable Diffusion, including face restoration, batch count, batch size, CFG scale, and seed. These settings allow users to fine-tune the program’s behavior and output according to their preferences and requirements.
Custom Prompts
here is some advanced prompt just change parameter and get new stunning results.
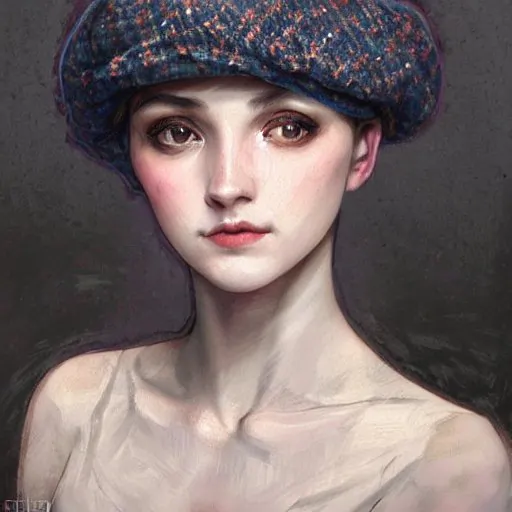
- portrait of an elegantly dressed short haired hipster girl, extremely dark and prominent circles around eyes, irritated expression, bohemian fashion, wearing a beret, artsy, intricate, soft and cute face, highly detailed, digital painting, artstation, concept art, smooth, sharp focus, illustration, art by artgerm and greg rutkowski and alphonse mucha
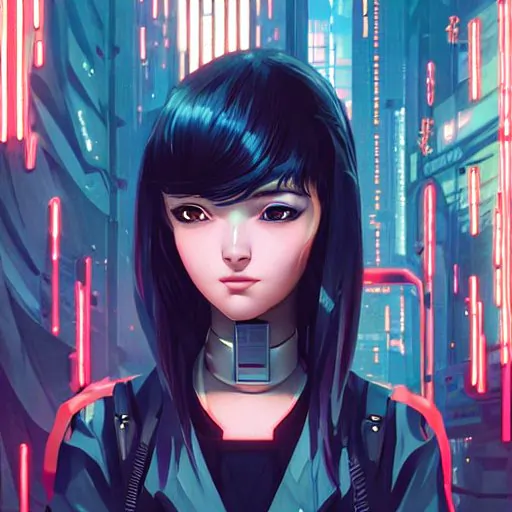
2. a comic potrait of a cyberpunk cyborg girl with big and cute eyes, fine – face, realistic shaded perfect face, fine details. night setting. very anime style. realistic shaded lighting poster by ilya kuvshinov katsuhiro, magali villeneuve, artgerm, jeremy lipkin and michael garmash, rob rey and kentaro miura style, trending on art station
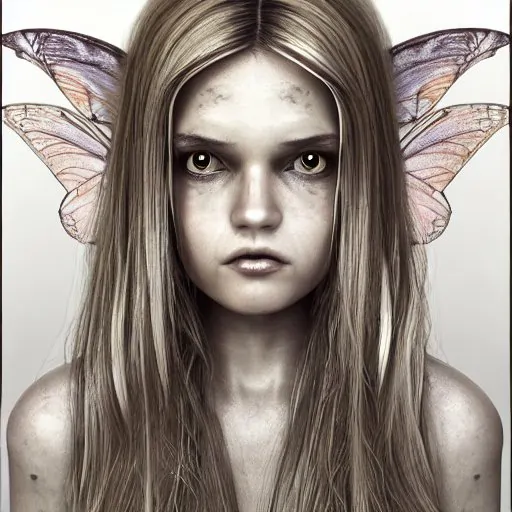
3. full body shot of an faerie girl, photorealistic, perfect symmetrical image, symmetrical face, perfect face, longshot, cinematic, hyper realism, hyper detailed
Conclusion
Stable Diffusion is a versatile program that enables users to generate visually captivating images based on text inputs. By following the installation guide provided in this article, users can easily set up Stable Diffusion on their Windows computers. The user-friendly web interface and customizable options make it a powerful tool for creative exploration. With Stable Diffusion, users can unlock their imagination and produce impressive images with ease.
FAQ – Stable Diffusion Installation and Usage
1. What is Stable Diffusion?
Stable Diffusion is a tool that allows you to generate images based on text input using AI. It produces stunning results by leveraging AI technology.
2. Why should I choose Stable Diffusion?
Stable Diffusion stands out among other similar technologies for several reasons: – The code is public and free to use. – It can be installed on your computer, provided you have a decent graphics card. – You have full rights to the images generated.
3. Can I use Stable Diffusion on the web?
Yes, you can experiment with Stable Diffusion on the web without installing it. Simply visit the provided link, enter text, and click on “generate” to obtain four different images.
4. What are the system requirements for running Stable Diffusion?
To ensure your PC can run Stable Diffusion, verify the following: – You have a discrete GPU or graphics card (check using Task Manager on Windows). – You have at least 4 gigabytes of dedicated GPU memory. – You have at least 10 gigabytes of free hard drive space.
5. What are the prerequisites for installing Stable Diffusion?
Before installing Stable Diffusion, you need to obtain two prerequisites: – Git: Used for source control management. Install it by top tutorial. – Python: A programming language used by Stable Diffusion. Install the version specified on the webpage.
6. How do I launch Stable Diffusion?
To launch Stable Diffusion, double-click on the “webui-user.bat” file within the Stable Diffusion directory. This will install the necessary dependencies, and a URL will be displayed. something like 127.0.0.1:7856
7. How do I use Stable Diffusion to generate images?
To generate images with Stable Diffusion: 1. Copy the URL displayed after launching Stable Diffusion and paste it into your web browser. 2. Choose the Stable Diffusion checkpoint or model you want to use. 3. Enter text in the prompt to describe the desired image. 4. Configure additional settings such as image size and sampling steps. 5. Click on “generate” to obtain the images.
8. Can I adjust the settings for better image results?
Yes, Stable Diffusion provides various settings to tweak image results. You can explore different options such as color palette, batch count, batch size, CFG scale, and more. These settings allow you to customize the output according to your preferences.
Last modified: June 11, 2023

