Canva is a powerhouse when it comes to graphic design, offering a user-friendly platform for both novices and professionals. One of the key design elements that can add flair to your creations is the dotted line.
In this guide, we’ll explore the step-by-step process of creating captivating dotted lines in Canva, unlocking the potential to elevate your designs to a whole new level.
Introduction
Canva is a cool tool for making digital designs. It’s easy to use and helps people turn their creative ideas into awesome visuals. One useful feature in Canva is the dotted line. Learning how to use it can make a big difference in your designs.
Picture this: a dotted line placed just right in your graphics. It’s not too flashy, but it adds a classy touch that makes your designs look even better.
Understanding Canva Basics
Before we get into how to make dotted lines, let’s talk about how to use Canva. If you’re new to Canva, it’s a tool that gives you a simple space to create all kinds of things, like social media pictures or presentations. It’s easy to use and helps you design stuff without any fuss.
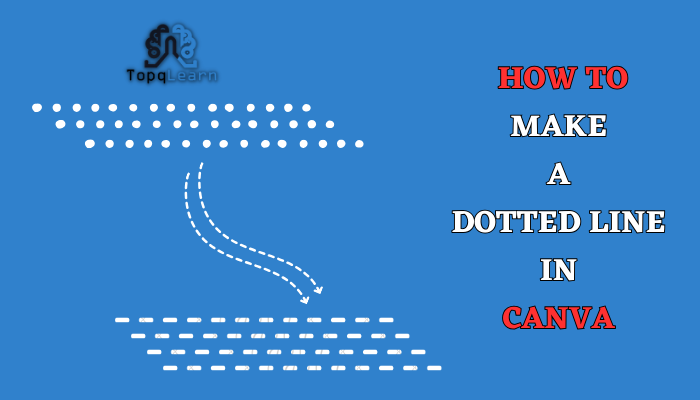
Creating Dotted Lines in Canva:
- Select the Line Tool:
First things first, click on the “Elements” tab in the toolbar on the left. Then, choose the “Line” tool. This is the foundation for our dotted line. - Draw Your Line:
Click on your canvas and drag to draw a straight line. Don’t worry about precision just yet; you can always adjust the length later. - Adjust Line Style:
With your line selected, look for the “Line style” option in the top menu. Click on it to reveal a drop-down menu, and here’s where the magic happens. Choose the dotted line option. Canva offers a variety of dot styles, so pick the one that suits your design. - Customize Dot Spacing and Size:
To fine-tune your dotted line, use the “Spacing” and “Size” sliders. Adjusting the spacing controls how close or far apart the dots are, while the size slider determines the diameter of each dot. Experiment until you achieve the desired look. - Color Your Dotted Line:
Click on the color palette icon in the top menu to choose the color of your dotted line. Whether you want it to blend in or stand out, this step allows you to align the line with your overall design theme.
Table: Steps to Create a Dotted Line in Canva
| Step | Action |
|---|---|
| 1. Select the Line Tool | Go to Elements > Line in the toolbar. |
| 2. Draw Your Line | Click and drag to draw a straight line. |
| 3. Adjust Line Style | In the top menu, choose the dotted line option from “Line style.” |
| 4. Customize Spacing and Size | Fine-tune the dotted line using the “Spacing” and “Size” sliders. |
| 5. Color Your Dotted Line | Choose the color of your dotted line using the color palette. |
Conclusion
Mastering the art of creating dotted lines in Canva opens a gateway to a world of design possibilities. Whether you’re aiming for subtle elegance or bold creativity, dotted lines can be the secret ingredient that transforms your graphics from ordinary to extraordinary.
FAQs:
Can I change the color of individual dots in a dotted line?
As of now, Canva allows you to change the overall color of the dotted line, but not individual dots. You can achieve a multicolored effect by layering lines with different colors.
Can I use dotted lines in Printables and presentations?
Absolutely! Dotted lines are versatile and can be used in various projects, including Printables, presentations, social media graphics, and more.
How do I resize or reposition my dotted line?
Click on the dotted line to select it, then use the resize handles to adjust its length. To reposition, click and drag the line to the desired location on your canvas.
Can I save my customized dotted line for future use?
Currently, Canva doesn’t have a feature to save customized lines directly. However, you can copy and paste the line into other designs or create templates for reuse.
Last modified: May 15, 2024

